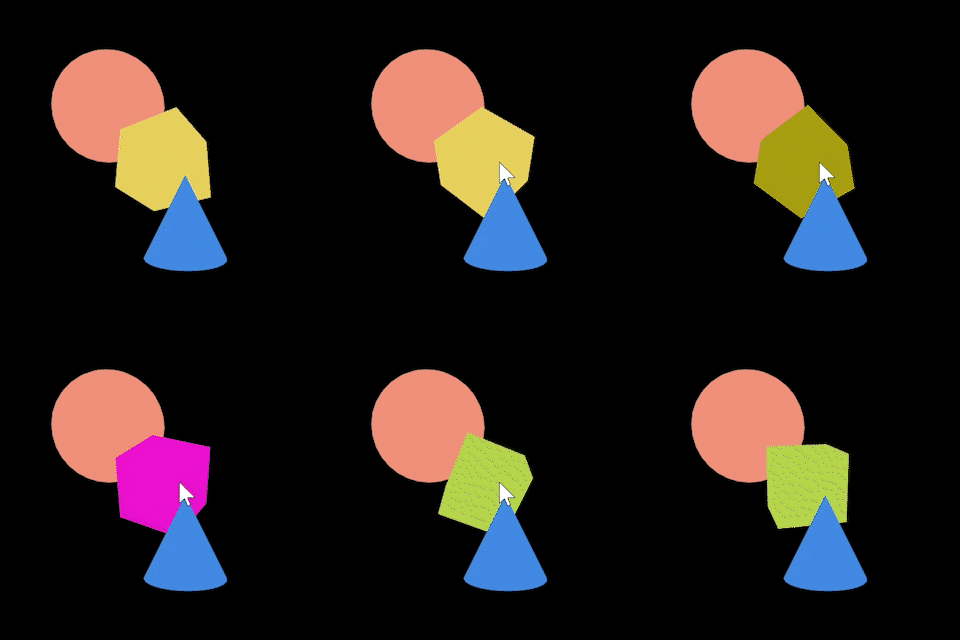
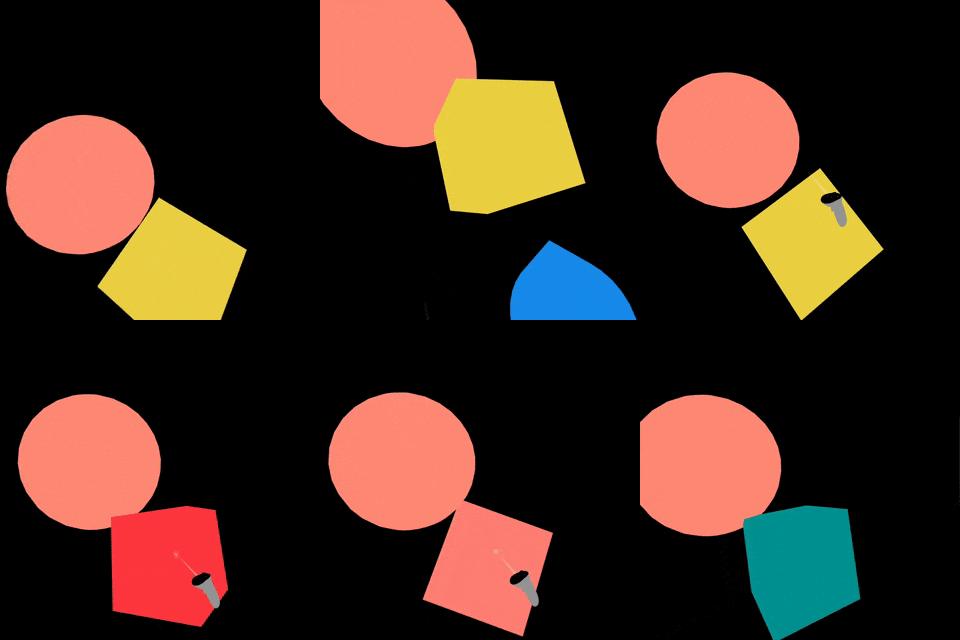
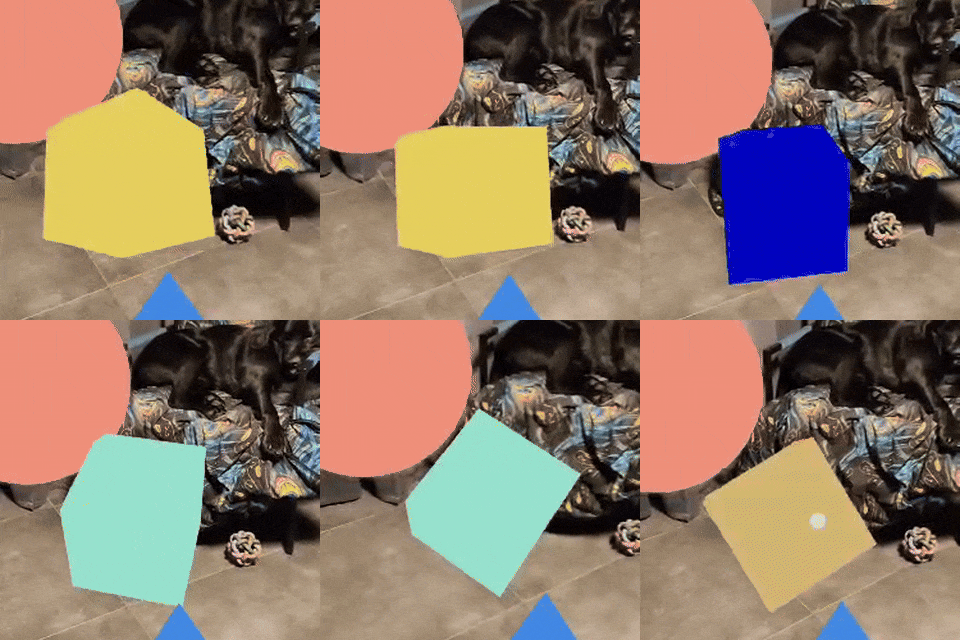
Discover how to build immersive Virtual and Augmented Reality experiences using WebXR and React. It's easier than you think!
It's December again, and so are the holidays. Personally, I’m hoping that some Virtual Reality headsets have made their way under the Christmas tree this year. As a developer, you might be thinking about creating your own immersive experiences. If you’ve searched for tutorials, you’ve probably found plenty about Unity or Unreal—tools that might feel unfamiliar if your background is in web development.
The good news? All the JavaScript skills you’ve honed can be used to build these virtual worlds too. With the WebXR API, you can create XR apps directly in the browser, benefiting from all the flexibility and convenience that comes with it. The API is supported in browsers like Meta’s and the open-source Wolvic, with additional AR support in Chrome for Android. Unfortunately, iOS doesn’t yet support the WebXR API, though it does have Quick Look for projecting models into reality.
In this post, I’d like to help you get started with building WebXR experiences using React.
A Few Notes Before We Begin
- XR stands for Extended Reality—an umbrella term covering:
- Virtual Reality (VR): Immersive experiences in completely virtual environments.
- Augmented Reality (AR): Overlaying virtual objects onto the real world.
- This post assumes you have some familiarity with React.
- The example will be simple—the goal is to help you quickly start experimenting with your new gear.
A Bit of Background...
If you’ve done any 3D work in the browser, you might have encountered three.js. It’s a library that lets you create 3D scenes, populate them with objects, position a camera, and render it all to a canvas—using vanilla JavaScript.
Here’s a basic example to render a simple scene:
import * as THREE from 'three';

const scene = new THREE.Scene();
const camera = new THREE.PerspectiveCamera(75, window.innerWidth / window.innerHeight, 0.1, 1000);

const cubeGeometry = new THREE.BoxGeometry(1, 1, 1);
const cubeMaterial = new THREE.MeshBasicMaterial({ color: 0xffce2e });
const cube = new THREE.Mesh(cubeGeometry, cubeMaterial);
scene.add(cube);

camera.position.z = 5;
const renderer = new THREE.WebGLRenderer();
renderer.setSize(window.innerWidth, window.innerHeight);
document.body.appendChild(renderer.domElement);

function animate() {
    cube.rotation.x += 0.01;
    cube.rotation.y += 0.01;
    renderer.render(scene, camera);
}
renderer.setAnimationLoop(animate);

This snippet creates a simple scene with a rotating cube. While Three.js is powerful, it can quickly get overwhelming—especially when managing interactions or integrating XR features. That’s where React-Three-Fiber (R3F) becomes a game-changer.
Enter React-Three-Fiber
It was only last year that I really got into React for the first time. And while I definitely have an opinion about it, I won't deny that it's a very robust library that lets me build a web app with relative ease while being able to easily split up the code into separate components.
I had heard about react-three-fiber before, but never really tried it out. Once I had some experience with React under my belt, I decided to give it a shot. And I have to admit, I quickly came to the conclusion that this is what I had been looking for.
Let's rewrite the example from above into R3F:
function Scene() {
  const boxRef = useRef();

  useFrame(() => {
    boxRef.current.rotation.x += 0.01;
    boxRef.current.rotation.y += 0.01;
  });

  return (
    <mesh ref={boxRef}>
      <boxGeometry />
      <meshBasicMaterial color={0xffce2e} />
    </mesh>
  );
}

function App() {
  return (
    <Canvas>
      <Scene />
    </Canvas>
  );
}
If you’re familiar with React, this structure should feel natural. R3F transforms Three.js objects into React components, simplifying scene updates with hooks likeuseFrame.
Adding Interactivity
Interactivity can transform a static scene into something dynamic and engaging. With R3F, this is straightforward. Let’s update our cube to change its color when clicked:
function InteractiveBox() {
  const boxRef = useRef();
  const [color, setColor] = useState(0xffce2e);

  const handleClick = () => {
    setColor(Math.random() * 0xffffff);
  };

  useFrame(() => {
    boxRef.current.rotation.x += 0.01;
    boxRef.current.rotation.y += 0.01;
  });

  return (
    <mesh onClick={handleClick} ref={boxRef}>
      <boxGeometry />
      <meshBasicMaterial color={color} />
    </mesh>
  );
}

function Scene() {
  return (
    <InteractiveBox />
  );
}

Now, whenever the cube is clicked, it changes to a random color. R3F simplifies the process of adding interactivity with familiar React concepts like event handlers.
The main thing that I'm trying to communicate here is that R3F makes building scenes easily. In my opinion, it's about as close to building a regular page, except in 3D. Don't forget that you can also implement libraries that you may have used before, like react-router, framer, or zustand. Many of these will work straight out of the box.
So now we can show 3D spaces on a flat screen. What if we'd want to move this into our VR headsets? Luckily, with the @react-three/xr, this won't require much effort either.
Let There Be XR!
Extending your project into XR is easy with @react-three/xr. Let’s add VR functionality:
const store = createXRStore();

function App() {
  return (
    <>
      <button onClick={() => store.enterVR()}>Enter VR</button>
      <Canvas>
        <XR store={store}>
          <Scene />
        </XR>
      </Canvas>
    </>
  );
}

In the app, I added a button for users to press to enter the space as a VR user and wrapped our scene in an XR component.
...and just like that, we’re done! Now, you can open this page on your headset, press the "Enter VR" button, and dive into a virtual world featuring a box, a sphere, and a geometry. TheonClickevent we implemented earlier works too—point your controller at the box, press the trigger, and watch in amazement as its color changes.
Please note: If you want to test your project on a headset, you’ll need to access the webpage viahttps://.
Let's move go from virtual into the real world
While my personal interests lean toward Virtual Reality, Augmented Reality (AR) can be just as captivating. Here’s how to enable AR with React-XR:
<button onClick={() => store.enterAR()}>Enter AR</button>
When the button is clicked on a supported device (e.g., Chrome on Android), the camera feed will display with the scene overlaid on the real world. You can move your phone to see the objects placed in physical space.
This works beautifully for projecting 3D elements like furniture into a room or overlaying graphics onto real-world environments.
Exploring Alternatives
React-Three-Fiber and React-XR aren’t the only tools for WebXR development. Here are some alternatives worth considering:
AFrame
In 2017, I had the pleasure to talk about WebVR at the Fronteers conference. Back then, my main weapon of choice was AFrame. It also works with THREE.js under the hood and lets you build the scene by adding 3D objects using HTML and adding any logic by attaching components.
The example from earlier would look something like this:
<a-scene>
  <a-box color="#ffce2e" change-color-on-click />
  <a-sphere position="-1 1 -1" color="#fe796a" />
  <a-cone position=".25 -.65 1" color="#2e7cff" />
</a-scene>
Model Viewer
Model-Viewer is perfect for displaying 3D models and includes built-in support for AR with minimal setup. Here’s an example:
<model-viewer
  alt="A red sphere, a yellow box, and a blue cone"
  src="./sphere-box-cone-scene.glb"
  ar
  camera-controls
/>
Visual Editors
If you prefer a graphical interface, these editors might be helpful:
- Rogue Engine– A Unity-like editor for building Three.js apps.
- PlayCanvas– A browser-based 3D editor with real-time collaboration.
- Wonderland Engine– An editor focused on high-performance WebXR experiences.
Rounding off
Hopefully, this post has shown how easy it can be to start creating with WebXR using React. Before you go, here are some tips to keep in mind:
- Join the Community: The WebXR Discord is a great place to get advice and share your projects.
- Test Early: What looks good on a flat screen might not translate perfectly to XR. Testing on hardware as soon as possible can save you time.
- Use Browser Tools: Features like hot reloading and multi-tab testing make the development process smoother.
Finally, here are some apps that inspire me and showcase the possibilities of WebXR:
- size.link: Project measurements into the real world—great for interior design.
- Moonrider: An open-source WebXR rhythm game similar to Beat Saber, with tons of custom tracks.
- Hubs: An open-source virtual collaboration platform for meetups, conferences, or casual hangouts.
- FrameVR: Similar as Hubs, albeit not open-source. Still impressive and can support hundreds of users.
- The Escape Artist: An award-winning WebXR escape room that pushes the boundaries of what’s possible.
Finally, if you have any questions or want to discuss this further, feel free to reach out! You can find me on Discord as @rvdleun, or connect with me on Mastodon and BlueSky.